Why a flat file struggles on a cap
On a polo or T-shirt the fabric is hooped tight with backing underneath, and the needle sews onto a flat, stable surface. A file built for that can start on the left, work across to the right, and finish with outlines on top. Nothing moves very much.
A cap is a different machine setup. The front panel is curved, it is usually stiffened with buckram, and on most commercial machines it is held on a cap frame that rotates around the crown while the machine sews. Every stitch pulls on the fabric a little. On a flat garment that pull is held by the hoop; on a cap it has nowhere to go except sideways along the curve and up toward the crown.
So a flat file that sews from one side to the other keeps pushing fabric in one direction. By the time the last letter goes in, the cap has shifted, and the outlines no longer land on the fills they were meant to frame. That's the classic flat-file-on-a-cap result: a logo that leans, gaps between borders and fills, and a design that drifts away from the centre seam.
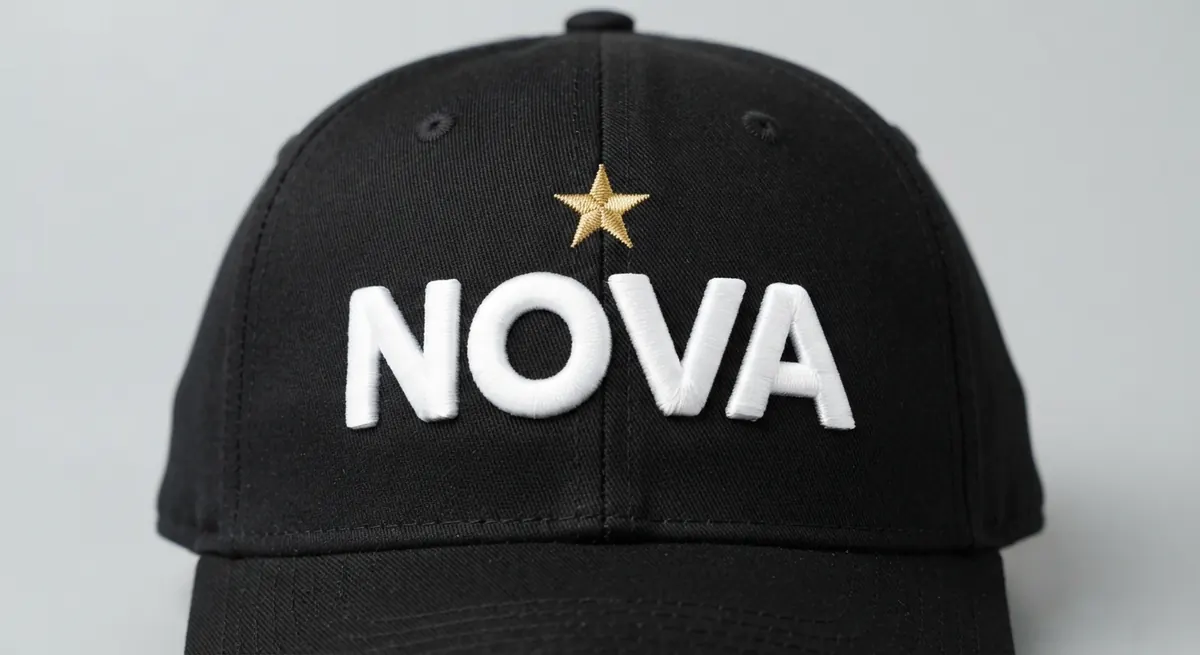 AI concept mockup
AI-generated concept mockup, not a client order. The brand is invented.
Flat file vs cap file: what changes
A cap file isn't a different file format. It's still a DST, PES or EXP. The difference is in how the stitches are planned. These are the settings that change when a flat design is converted for a cap.
| Setting | Flat file (polo, tee) | Cap file (structured cap) |
|---|---|---|
| Stitch order | Often left to right or element by element | Centre-out: the middle element first, then outward to each side |
| Direction inside each shape | Whatever suits the shape | Bottom-up: from the brim toward the crown, so fabric isn't trapped against the visor |
| Underlay | Set for the fabric | Stronger (centre run plus edge run or zigzag) to lock the cap fabric down first |
| Pull compensation | Normal for the fabric | Increased, so satin columns and outlines still meet on the curve |
| Size | 3–4 in wide for a left chest | Fits the front panel, often about 2–2.25 in tall and up to about 4.5 in wide on a structured cap |
| Small lettering | Can stay fine on smooth fabric | Widened slightly and kept bolder to stay readable on a stiff, curved front |
| Centre seam | Not an issue | Fewer jumps and trims across the seam of six-panel caps; long satins on the seam are avoided |
| Start and end point | Anywhere | Start near the bottom centre so the frame starts on the most stable area |
Exact cap areas depend on the blank and your cap frame. Low-profile "dad hats" and trucker caps are usually smaller than a structured six-panel front, so always check the cap you're using. The cap digitizing page lists typical sizes for each cap style.
Stitch order: flat vs cap, in one picture
The numbers show the order the elements sew in. On the flat file the machine works across the design. On the cap file it starts in the middle and works out to both sides, so the fabric is pushed away evenly instead of all in one direction.
How a flat to cap conversion is done, step by step
This is the process I follow in Wilcom EmbroideryStudio when a client sends a flat design that needs to run on caps.
1. Check what the source file is
An editable master file (such as EMB) still holds the objects: each satin, fill and run is a shape that can be reordered, resized and re-set. A DST holds only needle positions. It can be opened and edited, but resizing it or changing its underlay properly is limited, so a DST-only job is often rebuilt from the artwork instead.
2. Fit the design to the cap front
The design is resized to the usable area of your cap, usually by height first, because the front panel is shallow. Wide logos may need a stacked layout. When a design shrinks, density and underlay are recalculated rather than just scaled.
3. Simplify for a stiff, curved surface
Hairline outlines and very small text that worked on a smooth polo are thickened or removed. Lettering is widened slightly so it stays open on a structured front.
4. Resequence centre-out and bottom-up
The middle element sews first, then elements alternate outward to each side. Inside each shape the stitches run from the brim toward the crown, so fabric is pushed up and away rather than trapped against the visor.
5. Strengthen underlay and pull compensation
Underlay is set to lock the cap fabric to the buckram before the top stitches go in, and pull compensation is increased so borders still meet their fills on the curve.
6. Tidy the centre seam and export
Jumps and trims across the seam are reduced, the start point is moved near the bottom centre, and the file is checked in a stitch simulation before it's exported in your machine's format with a colour sheet and preview.
Signs your flat file failed on a cap
If you've already sewn a flat file on a cap, the sew-out usually tells you what went wrong.
| What you see | Likely cause | What fixes it |
|---|---|---|
| Outlines don't line up with fills | Side-to-side sequence pushed the fabric | Centre-out resequencing, more pull compensation |
| Logo leans or sits off centre | Design started at one side, not the centre | Start at bottom centre, sew outward evenly |
| Puckering above the logo | Fabric trapped while sewing top-down | Bottom-up stitch direction, lighter density if needed |
| Small letters closed up | Text too fine for a stiff curved front | Widen or enlarge lettering, simplify details |
| Thread breaks near the seam | Long satins or dense stitching over the centre seam | Split satins, reduce stacking on the seam |
| Design runs into the brim | Flat size too tall for the cap front | Resize to the cap area, check the blank |
Already have a cap file that misbehaves? The file conversion and fixes page explains when a file can be repaired and when it's better to rebuild it.
When a flat file can work on a cap
Not every flat file fails. A small, simple design, such as a short word or a bold icon with no tight outlines, sewn on a soft unstructured cap, sometimes runs fine. If the flat file was hand-digitized with good underlay and you have the editable master, a conversion can be a quick resequence and resize rather than a full rebuild.
Where it nearly always needs proper conversion: structured six-panel caps, designs with outlines around fills, small text, logos wider than they are tall, and anything going to 3D puff, which needs its own puff rules on top of the cap rules.
What to send for a flat to cap conversion
- Your existing file: the editable master (EMB or similar) if you have it, plus the DST or PES
- The original artwork (JPG, PNG, PDF or AI), in case a rebuild is cleaner
- The cap style: structured, low profile, trucker or beanie
- The size you want on the front, or a photo of the blank
- Flat or 3D puff
- Your machine brand or file format
- A photo of the sew-out, if you've already tried the flat file
Not sure which format your cap machine reads? The embroidery file formats guide matches machine brands to file types.
Price and turnaround
A cap file built from your logo starts at $10 for cap logos up to 4 inches, the same as a left chest logo, and is usually ready in 12–24 hours. If your flat file only needs a resequence and resize, you'll get the exact price with your quote before any work starts. 3D puff is quoted upfront too. You receive the cap file in your machine format, the editable EMB, a colour sheet and a preview with the stitch count, with free edits until it sews right. The digitizing cost guide explains what changes the price.
Frequently asked questions
What is flat to cap conversion in embroidery?
It is the process of rebuilding a flat embroidery file, such as a left chest logo, so it sews cleanly on a cap. The design is resized to the cap front, resequenced to sew centre-out and bottom-up, and given stronger underlay and more pull compensation for the curved, stiff panel.
Can I just resize my left chest DST for a cap?
Usually not well. A DST stores needle positions, not editable shapes, so shrinking it keeps the original stitch count and density, which can make the design too dense, and it does not change the stitch order. A proper conversion is done from the editable master file or rebuilt from the artwork.
Why does my logo lean or shift when I sew it on a cap?
Most often the file sews from one side to the other. Each stitch pushes the cap fabric along the curve in the same direction, so the design drifts. A cap file starts in the middle and works out to both sides so the push is even.
Do I need a different file format for caps?
No. Caps use the same formats as flat garments, such as DST for commercial machines or PES for Brother and Baby Lock. What changes is how the stitches are planned inside the file, not the file type.
How much does a flat to cap conversion cost?
A cap file built from your logo starts at $10 for cap logos up to 4 inches. If your existing flat file only needs resequencing and resizing, you get the exact price with your quote before any work starts.
Can a flat design be converted to 3D puff for a cap?
Often, but only the bold parts. 3D puff needs wide satin columns, roughly 3 to 12 mm, and capped ends to cut the foam cleanly. Fine text and thin outlines stay flat, so many puff cap designs mix puff lettering with flat details.
Send your file or logo. Get a cap-ready file, usually within 12–24 hours.
Tell me the cap style, the size and your machine. You get the cap file, the editable EMB, a stitch count and a colour sheet, with free edits until it sews right.