Why artwork matters before digitizing
Digitizing is not tracing pixels. A digitizer looks at your artwork and rebuilds every shape as stitches: satin for letters and borders, fill for large areas, run stitches for fine lines, with underlay, density and the stitch order planned for the fabric. The artwork is the blueprint for all of that. When it is sharp, the shapes and letterforms are clear and the file can be built in one pass. When it is blurry, cropped or full of effects, the digitizer has to guess, ask or redraw first.
You don't need perfect artwork to order. Most logos arrive as a JPG from a website or an old business card, and that is fine. But a few minutes of preparation saves revision rounds and gives a cleaner sew-out. If you're starting from a low-quality image and also need print files, a vector redraw first gives you one clean master for both print and embroidery.
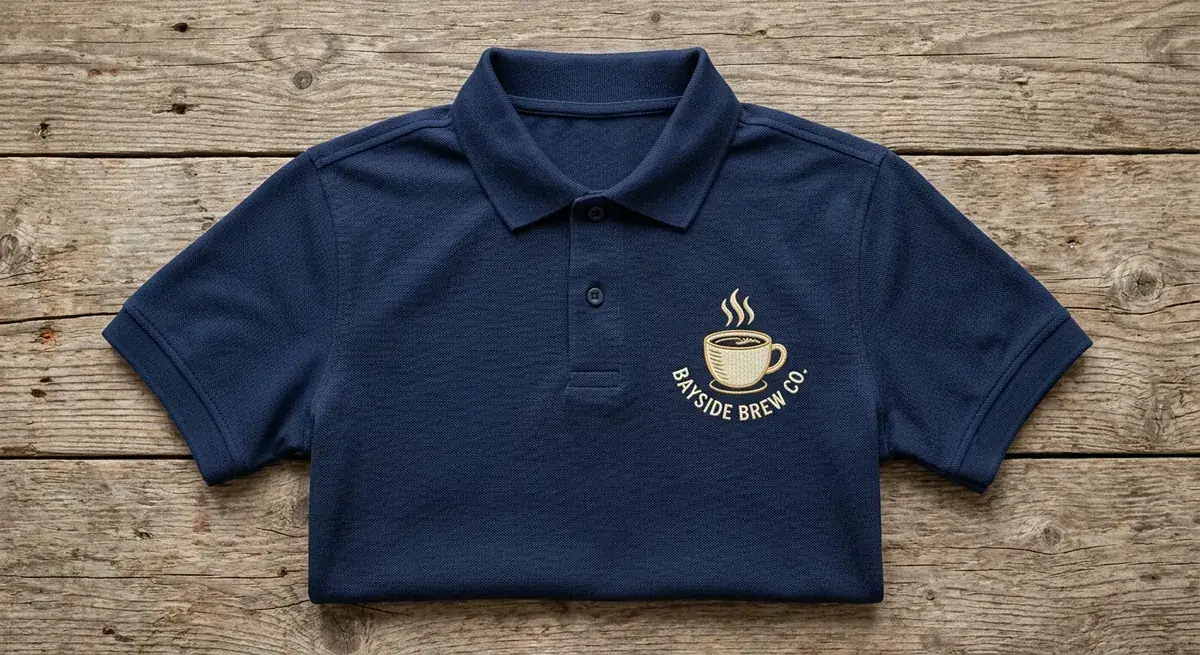 AI concept mockup
AI-generated concept mockup, not a client order. The brand is invented.
Which file to send: best to worst
Send the best version you have. If you're not sure which one that is, send everything: the digitizer will pick.
| What you have | How good for digitizing | What to know |
|---|---|---|
| AI, EPS, SVG or vector PDF | Best | Clean edges at any size, real text and exact colors. Outline the fonts (or send the font name) so the text doesn't change. |
| Large PNG or JPG (sharp, full logo) | Very good | The most common starting point. A transparent PNG is ideal; a JPG on a plain background works too. |
| PDF from a printer or designer | Good to best | May contain vector shapes inside. Send it even if you can't open it. |
| Small web image or screenshot | Workable | Edges and small text are blurry, so they are redrawn by eye. Mention the exact wording of any text. |
| Phone photo of a shirt, sign or sketch | Workable | Shoot straight on, in daylight, the whole design in frame, no shadow across it. Expect more questions. |
| Existing embroidery file (DST, PES, EMB…) | Depends | Can often be converted, resized a little or fixed rather than redigitized; see file conversion & fixes. |
Word documents, Canva links and social media posts can work, but export the logo on its own if you can. A logo inside a document is often a small, compressed copy.
Image size and resolution
For raster images (PNG, JPG), what counts is how many pixels sit across the logo itself, not the "dpi" number in the file. As a rough guide, aim for at least about 1,000 pixels across the logo, and more if it has small text or fine detail. A crisp image lets the digitizer see exactly where a curve turns and how thick each stroke is.
- Don't upscale it yourself. Enlarging a small image in an editor or an online tool adds blur and odd edges, not detail. Send the original.
- Crop to the logo, not the whole page. If the logo is one item in a flyer, crop it out or point to it.
- Send all versions. A full-color logo, a one-color version and the wordmark alone each help.
- Only a tiny image? Send it anyway. Text can be retyped in a matching font, and simple shapes redrawn. For complex art, a vector conversion first may be the better route.
Tell your digitizer the finished size and placement
The same logo is digitized differently at different sizes. A 3.5 inch left chest version and an 11 inch jacket back version are separate files, not one file scaled up, because density, underlay and stitch types change with size. So the size you give matters more than the size of the image.
- Give one measurement: the width (or height, for tall logos) in inches or mm. The other side follows the proportions.
- Name the placement: left chest (commonly about 3 to 4 inches wide), cap front, sleeve, full back, patch, towel. Caps need their own file; see cap digitizing and why in the flat to cap conversion guide.
- Several sizes? Say so upfront, for example left chest and full back. Large designs are covered in jacket back digitizing.
Simplify details that won't stitch
Thread has thickness, and the fabric moves under the needle. Details that look fine on screen can disappear, close up or pucker at the real size. Check your artwork for these points, or let your digitizer suggest changes before the file is built.
| In the artwork | What happens in stitches | Usual fix |
|---|---|---|
| Text under about 6 mm (¼″) tall | Letters fill in and become hard to read | Enlarge it, use a simpler bold font, or drop a tagline at small sizes |
| Hairline lines and thin outlines | Disappear, wobble or turn into a loose run stitch | Thicken them, or leave them out at small sizes |
| Gradients and color fades | Thread can't fade like ink | Turn into two or three solid color steps |
| Drop shadows, glows, textures | Add stitches and stiffness, look muddy | Remove, or replace with a simple solid offset |
| Many similar colors | More color changes, little visible difference | Merge close shades into one thread |
| Tiny gaps and small counters (e, a, R) | Close up once stitched | Open them slightly in the artwork |
| Photo-style images | Can't be stitched like a print | Simplify to a graphic, or quote as a separate photo-stitch job |
None of this means changing your brand. It is the same logo, adjusted so it reads clearly in thread at the size you'll wear it. A good digitizer will tell you before building the file, not after.
Colors: Pantone, hex or thread numbers
If your brand has set colors, send them: Pantone codes, hex codes or the thread brand and numbers your shop uses (Madeira, Isacord, Robison-Anton and so on). The digitizer assigns the closest threads and lists them on the color sheet, in sewing order. If you don't have codes, the colors are matched to the artwork by eye, and you can still swap threads on the machine later without changing the file.
Also say what color the garment is. A white logo on a black cap and a black logo on a white polo can need different choices, for example whether an outline is needed or whether a dark background area is left unstitched to let the fabric show through.
Tell your digitizer about the fabric
Fabric changes the file. Pique polos, T-shirts, fleece, towels, denim, structured caps and beanies each need different underlay, density and pull compensation. Stretchy knits need more support; towels need a base so stitches don't sink into the loops; caps need center-out sequencing. Naming the garment, and ideally the brand or style, is one of the most useful things you can add to an order.
Your artwork checklist: what to send
Copy this list into your message or order and fill it in. It covers everything needed for an accurate quote and a file that sews right the first time.
- Artwork: the vector file, or the largest PNG/JPG you have
- Finished size: width or height in inches or mm
- Placement: left chest, cap front, sleeve, back, patch, towel…
- Garment and color: e.g. black structured cap, white pique polo, grey fleece hoodie
- Machine format: DST, PES, EXP, JEF, VP3… (not sure? see the file formats guide)
- Thread colors: Pantone, hex or thread numbers, if you have them
- Special effects: 3D puff, applique, metallic thread
- Exact wording of any small text, and your deadline
What happens after you send it
I check the artwork against the size and garment, and if anything won't stitch well I tell you before starting, with a suggestion. You get a fixed price upfront (left chest and cap logos start at $10, see the digitizing cost guide), then the file in your format with a preview, stitch count and color sheet, usually within 12 to 24 hours. Small edits are free until it sews right.
Curious what the DIY route looks like instead? The guides on how to create a DST file from a JPG and converting a logo to an embroidery file walk through the free software options and where they tend to fail.
Frequently asked questions
What file format is best for embroidery digitizing?
A vector file (AI, EPS, SVG or a vector PDF) is best, because the shapes, lines and text are already clean at any size. A large, sharp PNG or JPG is the next best thing. A blurry screenshot or phone photo can still be digitized, but the digitizer has to redraw more, so it takes longer and needs more questions.
Can you digitize a logo from a JPG or a phone photo?
Yes. Most logos arrive as JPGs or PNGs. A good digitizer redraws the shapes by hand, so the pixels themselves don't sew. For a phone photo of a shirt or a sketch, take it straight on, in good light, with the whole design in frame, and tell the digitizer the finished size.
What resolution does my image need for embroidery digitizing?
As a rough guide, send the largest version you have, ideally at least about 1,000 pixels across the logo. More matters for logos with small text or fine detail. Don't enlarge a small image yourself: upscaling adds blur but no detail. If only a tiny version exists, send it anyway and mention any text so it can be retyped.
How small can text be in embroidery?
As a rule, letters about a quarter inch (6 mm) tall or more sew cleanly. Smaller text needs special satin settings and lighter underlay, and very small or thin fonts may need to be simplified, enlarged or left out at left chest and cap sizes.
Do I need to choose thread colors before digitizing?
It helps but isn't required. If you have brand colors, send the Pantone or hex codes, or the thread numbers you use (for example Madeira or Isacord). Otherwise the digitizer matches the artwork and lists the colors on the color sheet so your machine operator can load the right threads.
Can gradients, shadows and photos be embroidered?
Not the way they print. Thread comes in solid colors, so gradients are either turned into two or three solid color steps or blended with special stitch techniques, and drop shadows or glows are usually removed or simplified. Photo-style designs are possible but are a separate, larger job.
Send what you have. I'll tell you what will stitch well before I start.
New client? Your first flat left chest or cap logo, up to 4 inches, is digitized free. Otherwise you get a fixed quote upfront, the file in your machine format, a stitch count and a color sheet.