What "converting" a logo really means
A logo file, whether it's a JPG, PNG, PDF or even a vector AI file, describes shapes and colours. An embroidery file describes needle movements: where each stitch lands, in what order, when to trim and when to change thread.
That's why there's no true one-click conversion. Somebody, or some software, has to decide which parts of the logo become satin columns, which become fills, which way the stitches run, and what goes underneath to hold the fabric steady. Those decisions are what make a design sew cleanly or pucker. The job is called embroidery digitizing.
If you only need the background on file types first, the JPG to DST guide explains the difference between an image and a stitch file in more detail.
Your three options at a glance
| Route | Cost | Best for | Watch out for |
|---|---|---|---|
| Auto-digitize | Free converters or built into paid software | Quick tests, very bold shapes | Guessed stitch types, no proper underlay, poor small text, messy stitch order |
| DIY by hand | Free with Ink/Stitch; paid tools also exist | Hobby projects, simple logos, learning the craft | A real learning curve; test stitch-outs on spare fabric |
| Hire a digitizer | Simple logos from $10 here | Business logos, caps, puff, small text, repeat orders | Give clear size, fabric and format details up front |
DIY: convert a logo with free Ink/Stitch, step by step
Ink/Stitch is a free, open-source extension for the free vector editor Inkscape. It runs on Windows, macOS and Linux and saves designs in common machine formats including DST, PES, JEF, EXP and VP3. Here's the workflow for a typical logo.
1. Install Inkscape and Ink/Stitch
Download Inkscape from inkscape.org, then install the Ink/Stitch extension from inkstitch.org following the instructions for your system. Once it's installed you'll find it under Extensions > Ink/Stitch.
2. Set the canvas to the real finished size
Embroidery is size-specific. Set the document to the size the logo will actually be sewn, for example 3.5 in wide for a left chest. Every decision after this, from column widths to text height, depends on that number.
3. Get clean vector shapes
If you have the logo as an AI, EPS, SVG or PDF, import it. If you only have a JPG or PNG, you can try Path > Trace Bitmap, but traced shapes are usually lumpy and full of extra nodes. For a clean result, redraw the main shapes with the pen tool on top of the image. Simplify while you're there: thread can't show gradients, hairlines or tiny gaps, so turn those into solid shapes.
4. Choose a stitch type for every shape
Ink/Stitch decides the stitch type from how the object is drawn:
- Fill (tatami): closed shapes with a fill colour. Use for larger areas.
- Satin columns: two parallel lines (rails) joined by rungs. Use for borders, narrow shapes and lettering. Ink/Stitch can convert a stroke into a satin column for you.
- Running stitch: a plain stroke. Use for fine details and outlines.
Open Extensions > Ink/Stitch > Params to set stitch angle, spacing (density), underlay and pull compensation for each object.
5. Put the objects in sewing order
The machine sews objects in the order they appear in the Objects panel. Sew background shapes before the details on top of them, group by colour to keep thread changes down, and work from the centre outward where you can. Fewer jumps and trims means a faster, cleaner run.
6. Simulate, then save in your machine format
Use the Ink/Stitch simulator to watch the design sew on screen and spot obvious problems. Then save a copy in your machine's format (for example DST or PES) and keep the SVG as your editable master. Not sure which format? See the embroidery file formats guide.
7. Test sew before production
Always run a test on the same fabric and stabilizer you'll use for the real job. Check for puckering, gaps between outlines and fills, and whether small text is readable. Adjust density, underlay or pull compensation and sew again.
Where DIY and auto-digitized files usually fail
Simple, bold logos can come out fine on a first DIY attempt. These are the jobs where self-made and auto-converted files most often let people down:
- Small text: lettering under about 0.25 in (6 mm) tall needs special satin settings and lighter underlay, or the letters close up
- Caps: a cap front is curved and sews centre-out on a cap frame, so flat files tend to distort or misregister. See cap digitizing
- 3D puff: puff needs dense, capped satin columns so the needle cuts the foam cleanly. See 3D puff digitizing. Large designs have their own rules too: see jacket back digitizing.
- Stretchy or thin fabrics: T-shirts and performance polos pucker without the right underlay and density
- Large fills: jacket backs need careful stitch angles and underlay to stay flat
- Gaps between colours: without pull compensation, outlines no longer line up with the fills they surround
If you already have a file that puckers or breaks thread, it can often be repaired instead of started again. That's what the file conversion and fixes service is for.
When hiring a digitizer makes more sense
DIY is a great way to learn, but it costs time and test garments. Hiring a digitizer usually pays off when:
- The logo is for a business, team or client and has to look right on every garment
- It has small text, fine detail or gradients that need careful simplifying
- It's going on a cap, in 3D puff or on a jacket back
- You run a shop with machines waiting and need a file that runs first time
- You need the same logo in several sizes or formats
A hand-digitized order from me includes the machine file (DST, PES or whatever your machine reads), the editable EMB master, a stitch count, a colour sheet and a preview image, with free edits until it's right. Simple left-chest and cap logos start at $10, and the digitizing cost guide explains what changes the price.
What to send so the first file is right
- Your clearest logo file: vector (AI, EPS, PDF, SVG) if you have it, otherwise the largest JPG or PNG
- The finished size, width or height in inches or millimetres
- The item and fabric: polo, T-shirt, hoodie, cap, jacket, towel or bag
- The placement: left chest, cap front, sleeve or full back
- Your machine format: DST, PES, JEF, EXP, VP3 and so on
- Thread colours, if you have brand colours or thread numbers
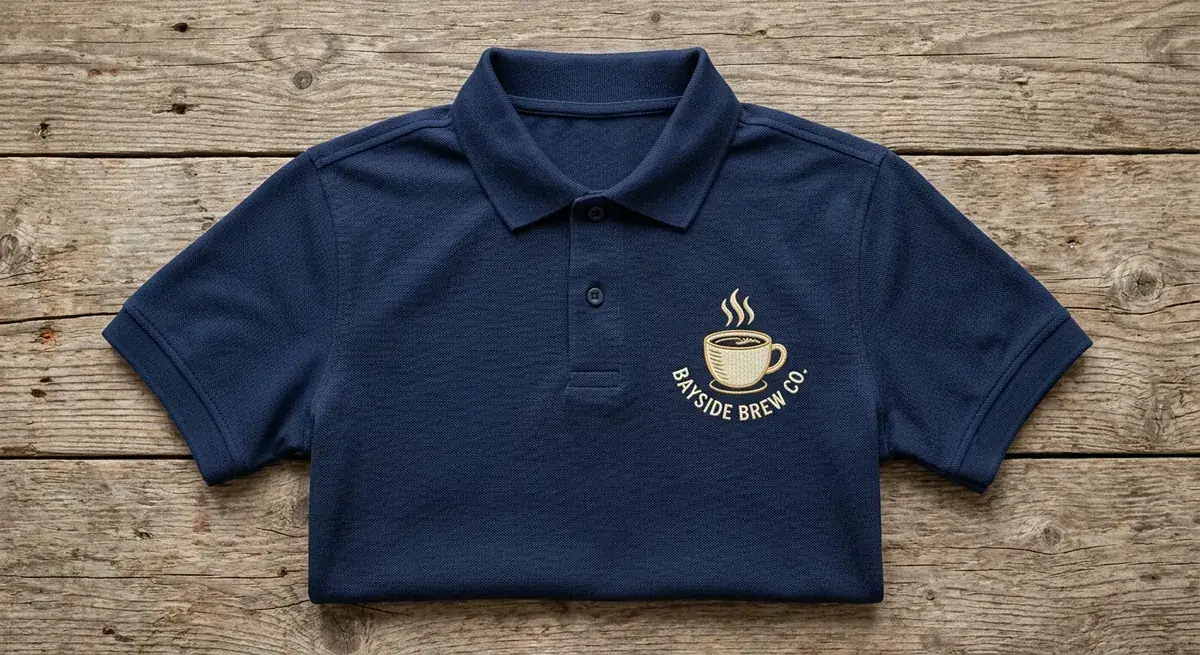 AI concept mockup
AI-generated concept mockup, not a client order. The brand is invented.
Frequently asked questions
Can I convert my logo to an embroidery file for free?
Yes. Ink/Stitch is a free, open-source extension for Inkscape that can save designs as DST, PES and other machine formats. It works well for simple, bold logos if you are willing to learn how to set stitch types, angles and underlay. Detailed logos, small text and caps are much harder to get right without experience.
Is auto-digitizing good enough for a logo?
Usually not for anything you will sell or wear. Auto-digitize tools trace colour areas and fill them with stitches, but they guess at stitch types, density, underlay and stitch order. The result often puckers, shows gaps between outlines and fills, or turns small text into a blob.
Which file format does my embroidery machine need?
Commercial and multi-head machines (Tajima, Barudan, SWF, Happy and most others) read DST. Brother and Baby Lock home machines read PES, Janome reads JEF, Husqvarna Viking and Pfaff read VP3, and Melco reads EXP. Check your machine manual or the embroidery file formats guide.
Can I use the same embroidery file on a shirt and a cap?
Not well. A cap front is curved and sews from the centre outward, so cap files are digitized differently from flat files. A flat left-chest file often distorts or misregisters on a structured cap.
How long does it take a digitizer to convert a logo?
A simple left-chest or cap logo is usually delivered within 12 to 24 hours. Large or very detailed designs such as jacket backs can take longer.
What should I send a digitizer?
Your clearest logo file (vector if you have it, otherwise the largest JPG or PNG), the finished size, the item and fabric, the placement and the file format your machine reads. Brand thread colours help too.
Send your logo. Get a hand-digitized file, usually within 12–24 hours.
Tell me the size, the item and your machine format. You get the stitch file, the editable EMB, a stitch count and a colour sheet, with free edits until it's right.